
Blending Words: How To Teach Blending Sounds + Freebies!
This post may contain affiliate links, and I will earn a commission if you purchase through these links. Please read the disclosure policy for more details.
There are a lot of important skills that kids need to learn in order to be successful readers. One of those skills is blending sounds together to form words. And yet, many struggle with blending words well into the middle and high school years.
You may have some students that know all their letter sounds and still they segment every word, every single time, even if they already decoded that same word in the previous sentence; and you’re not sure what else you can do.
Although it can be more difficult for some students to learn how to blend sounds, there are some fun, easy, and highly effective ways to help teach blending sounds!
SCIENCE OF READING QUICK START GUIDE
Grab your FREE guide with the 5 tools you need to get started with SOR!
*Most school spam filters block my emails, so please use a personal email.

What is blending?
Blending is the process of putting together individual sounds within a word to say the word aloud. It is an important skill for students to develop when learning to read.

Blending helps children read unknown words by breaking them down into individual sounds. Once children are able to blend sounds, reading becomes easier and more fluent.
Because blending involves segmenting words, students should learn both skills at the same time. Early phonemic awareness skills are key!
How To Teach Blending Sounds
Teaching blending is actually pretty easy. There are just a few things to consider, along with the amount of practice. It really takes a lot of practice!
Start with Oral Blending
Introduce oral blending early on. Students who are able to blend at the oral level will have an easier time blending in print.
This is why developing those phonemic awareness skills early on will help. Students can practice orally blending syllables, onset and rime, and then individual phonemes orally before they ever do it in print.
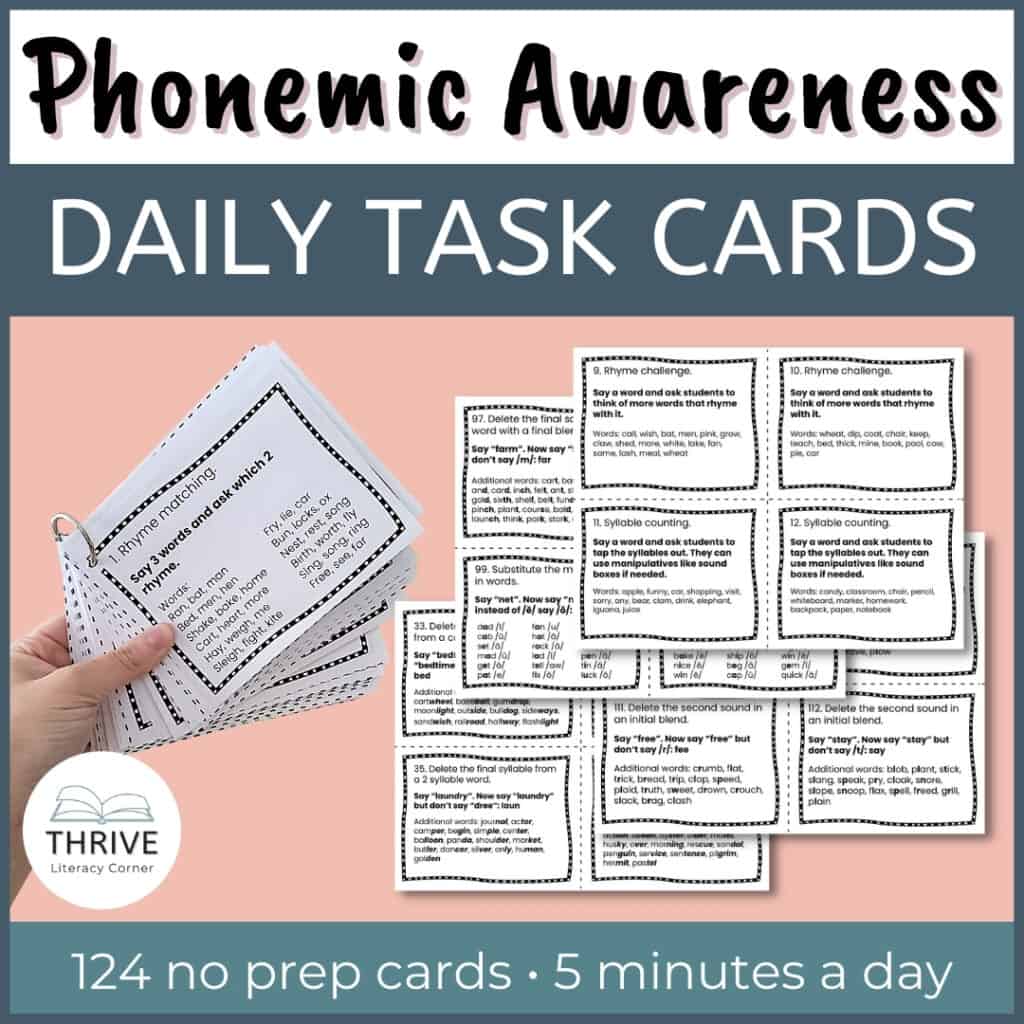
Check out my Phonemic Awareness Activities Daily Task Cards for some quick daily no prep practice with oral blending and other phonemic awareness skills.
Use Continuous and Stop sounds in the right places
Are you familiar with continuous and stop sounds? If you have a sound wall or are familiar with explicit phonics instruction then you probably know this. But when I started teaching I didn’t!
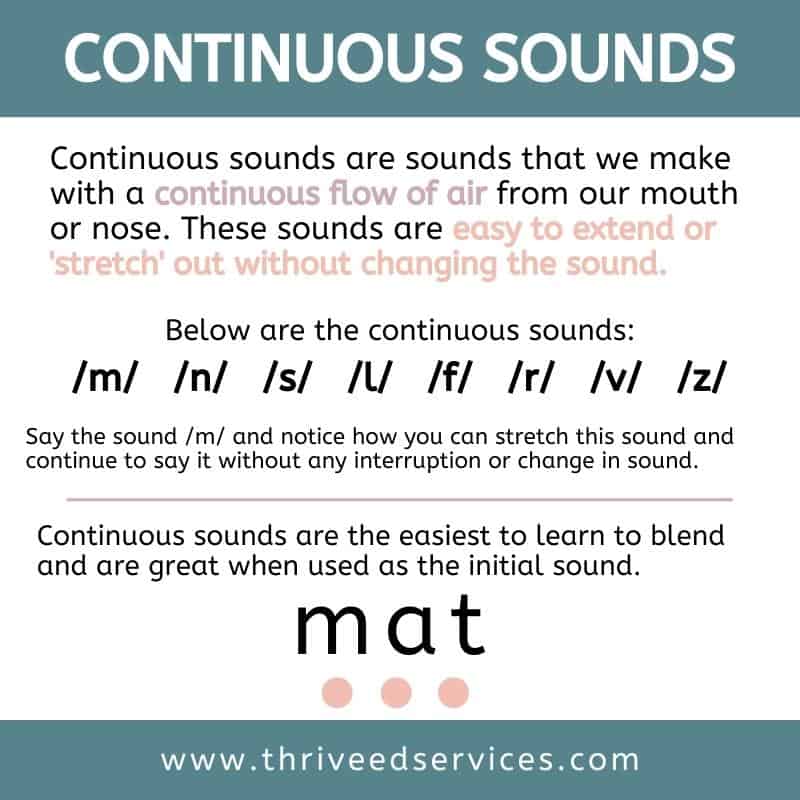
Continuous sounds are sounds that we make with a continuous flow of air from our mouth or nose. These sounds are easy to extend or ‘stretch’ out without changing the sound.
Take for example the /m/ sound. We can stretch this sound and continue to say it without any interruption or change in sound.
Continuous sounds are the easiest to start off with when working on blending. They work really well when used as the first sound.
Continuous sounds include: /m/, /n/, /s/, /l/, /f/, /r/, /v/, /z/.
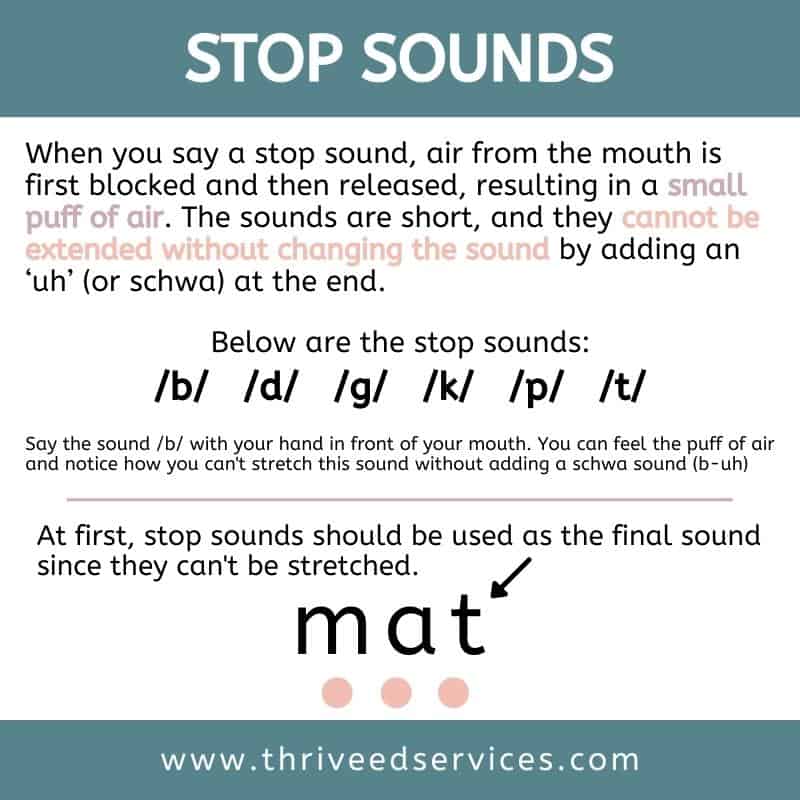
Stop sounds are the opposite of continuous sounds. When you say a stop sound, air from the mouth is first blocked and then released, resulting in a small puff of air. The sounds are short, and they cannot be extended without changing the sound by adding an ‘uh’ (or schwa) at the end.
You want to use stop sounds at the end of the word. For example, you can try blending /m/ /a/ /d/ which includes a continuous sound first and a stop sound last.
As students become more proficient in blending, you can add stop sounds to the beginning.
Stop sounds include: /b/, /d/, /g/, /k/, /p/, /t/.
Stretch The Sounds
When teaching blending, be sure to really stretch out the sounds. Model how to connect each sound to the next one, which is easier to do when we stretch out the sounds.
Connect The Sounds
Along with stretching each sound, make sure to model how to connect each sound. This is where I see many struggling students trip up. They stretch the sound, but then they pause and start the next sound. It’s important to get them to connect the sounds.
Introduce blending words in print early on
You can start blending sounds as soon as students know 2 sounds! If they have learned one consonant and one vowel, show them how to blend.
As students learn more sounds, continue practicing blending them, even if they don’t make real words.
I used to teach sounds in groups, starting with the group s a t i p n. After learning these 6 letter sounds, we would work on blending. There are so many words you can make with the 6 letters alone, such as sat, sit, sun, pin, pat, pan, tip, tan, tin, sip, etc.
It doesn’t really matter what order you use, just be sure to start teaching blending once students know a few letter sounds.
Make It Multisensory!
Slide a finger down your arm or across a surface as you blend, mimicking the sounds connecting to each other.
When using visuals, such as flashcards or letter tiles, push the letters closer to each other as you blend them together.
Lots Of Practice!
I’m repeating this with its own bold title to really drive the point that practice is key! Students need a lot more practice than we think to become fluent at blending.
Blending Activities & Strategies
Below are some blending activities and strategies you can use to teach blending.
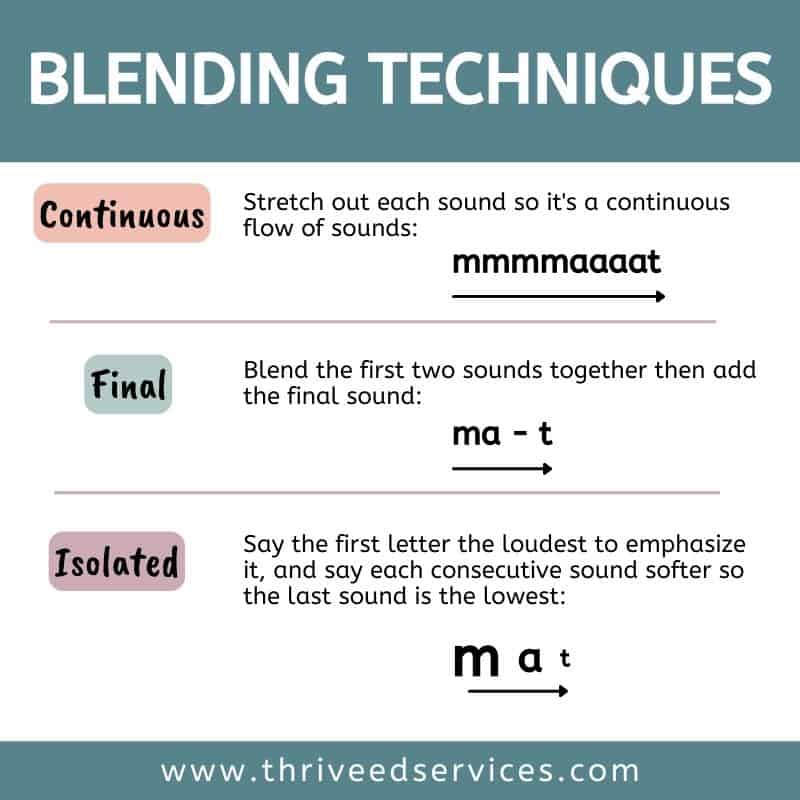
Continuous Blending (Successive Blending)
Continuous blending is really good for those kids who seem to be stuck sounding out every word and don’t seem to move on. This technique simply involves really stretching out each sound so it’s a continuous flow of sounds.
Isolated Blending
Isolated blending is when you say the first letter the loudest to emphasize it, and say each consecutive sound softer so the last sound is the lowest.
Final Blending
Final blending is when you blend the first two sounds together then add the final sound.
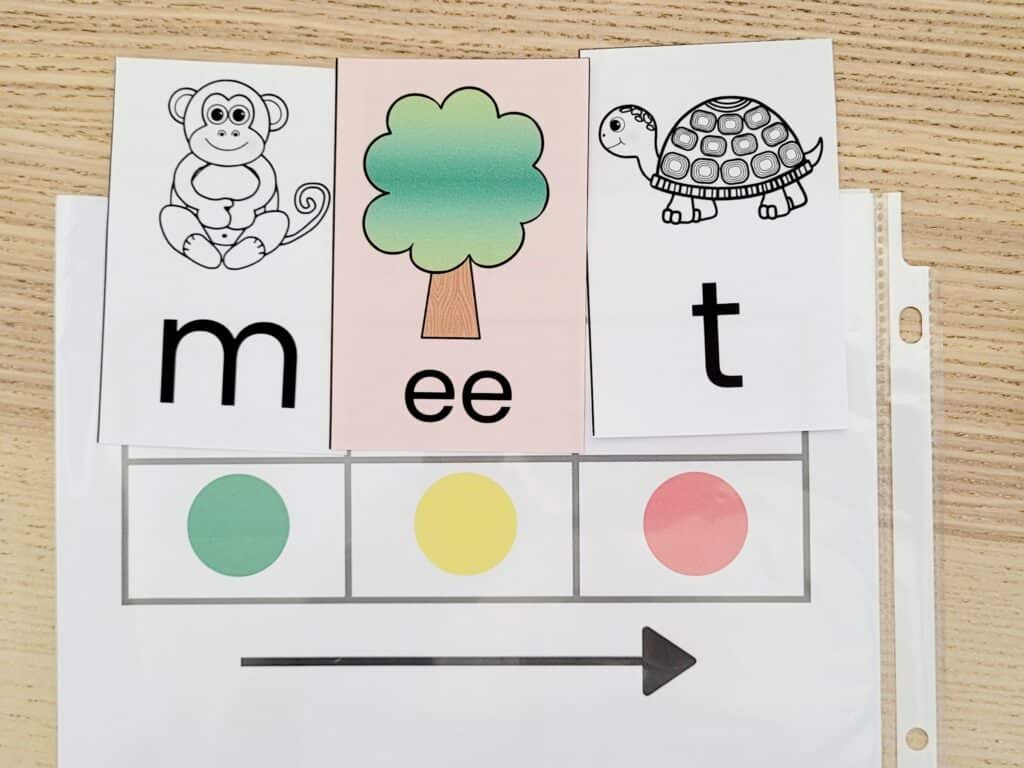
Sound Boxes
Elkonin boxes, or sound boxes, are great for segmenting and blending, especially when they have the directional arrow and colors that students can use as a guide.
I like to place a phonogram card in each box then have students blend each one to read the word.
Blending Boards
Blending boards are a great hands on method for blending sounds. I recommend you use a system where the cards are not simply letters but graphemes that represent one sound such as phonogram cards. For example, when blending the word ‘chop’, use a card that contains the digraph CH on one card instead of a C card and an H card. Sounds should be represented in units, or graphemes, and not as individual letters.
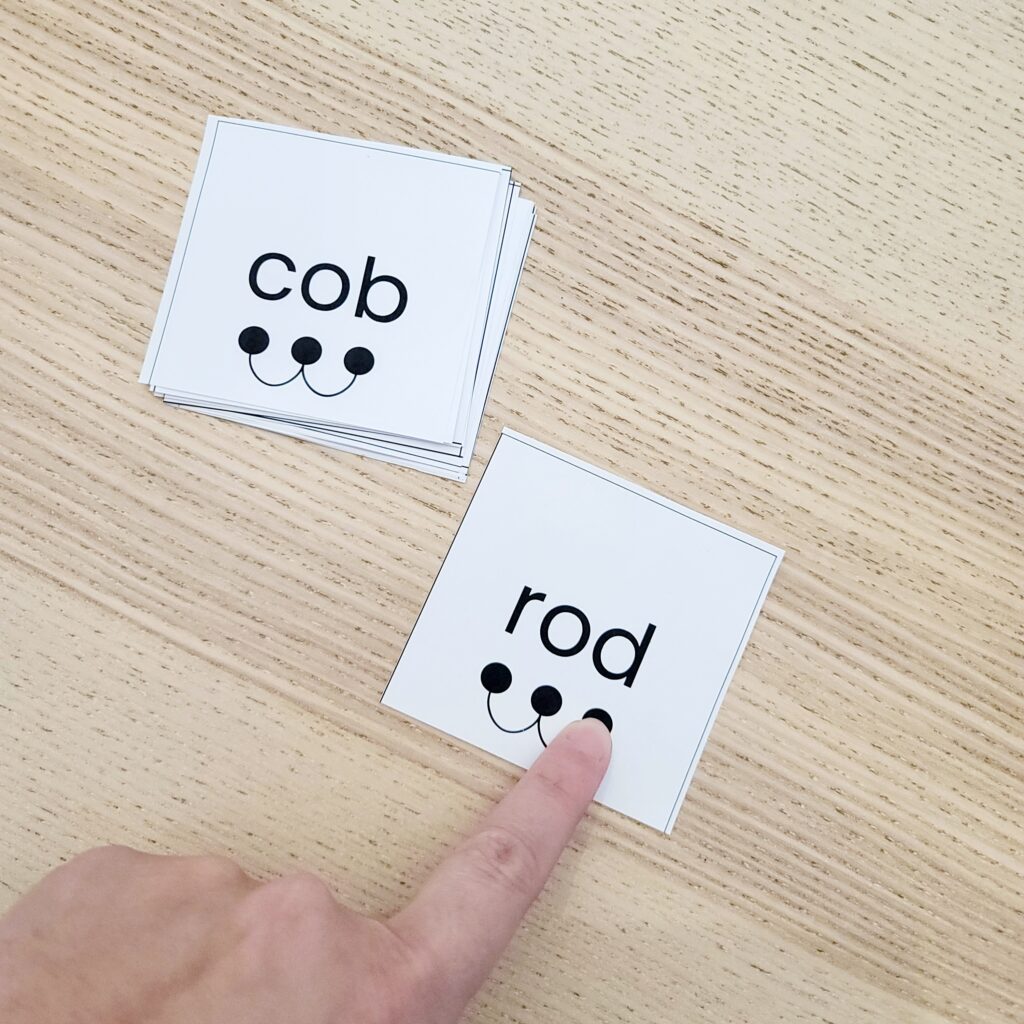
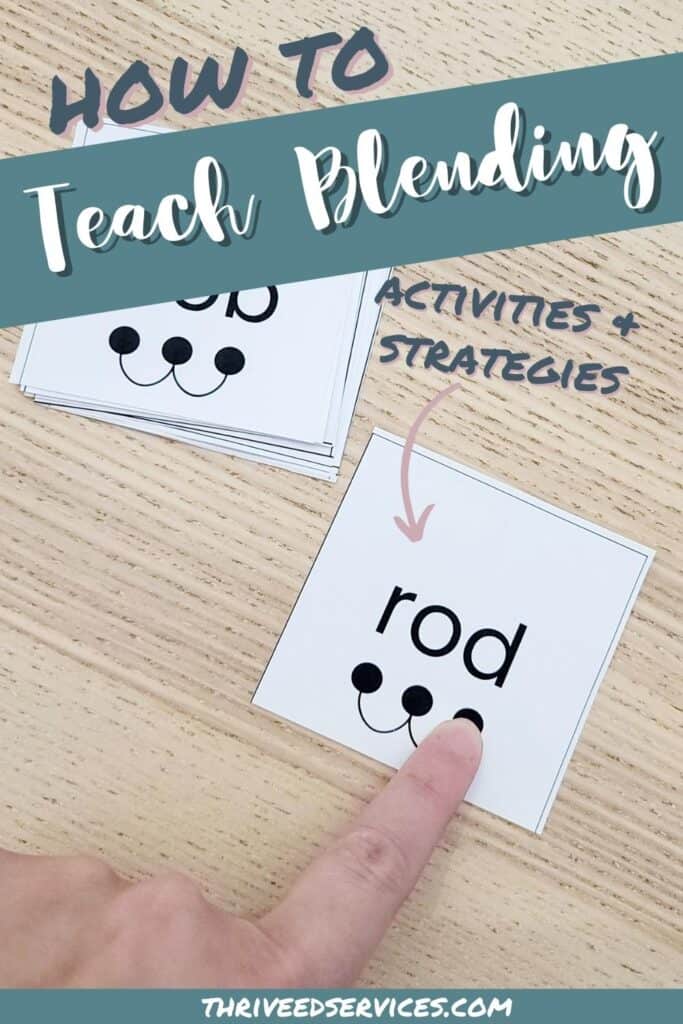
Blending Cards
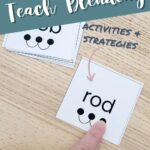
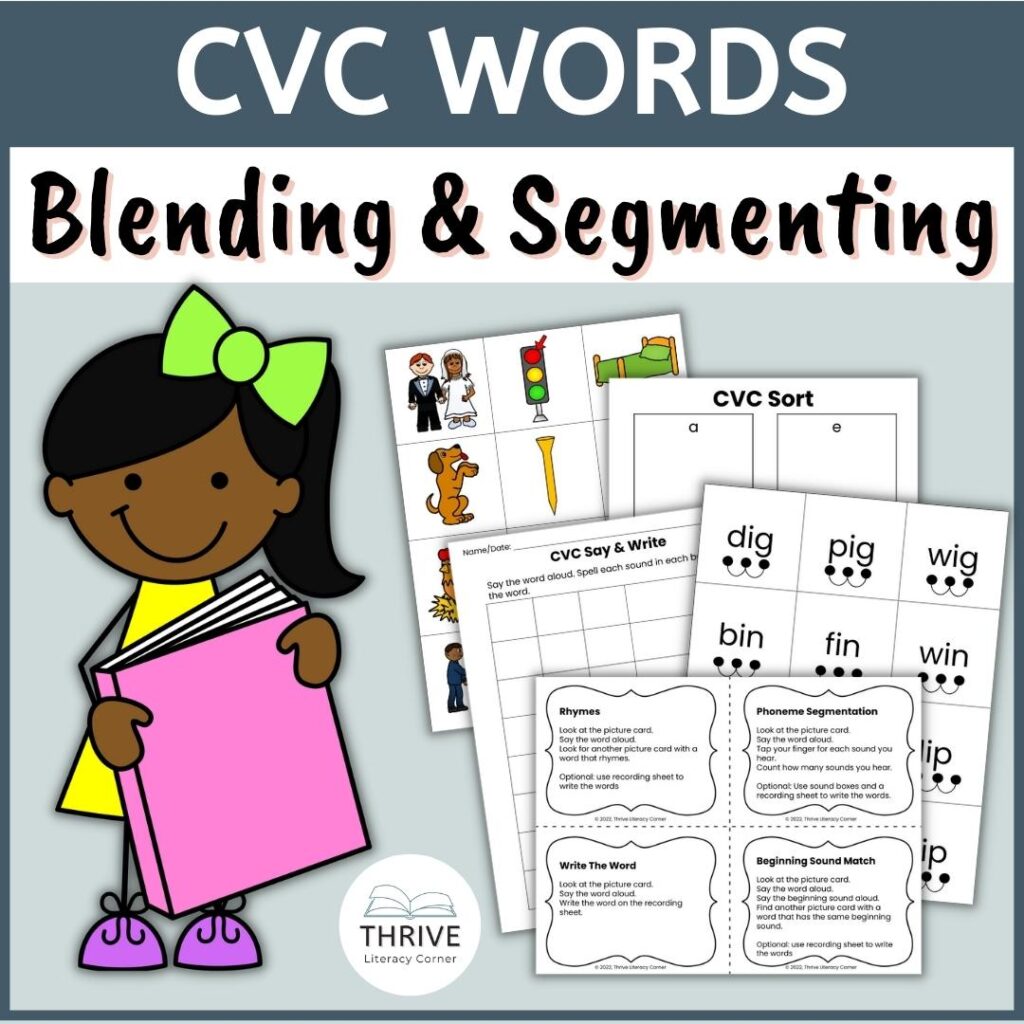
Blending cards are word cards that contain a dot under each letter with a curved line that swoops across connecting each sound. Students slide their finger on these dots and lines to guide them in blending the word. See the image below for an example. These are from my CVC Blending & Segmenting Cards.
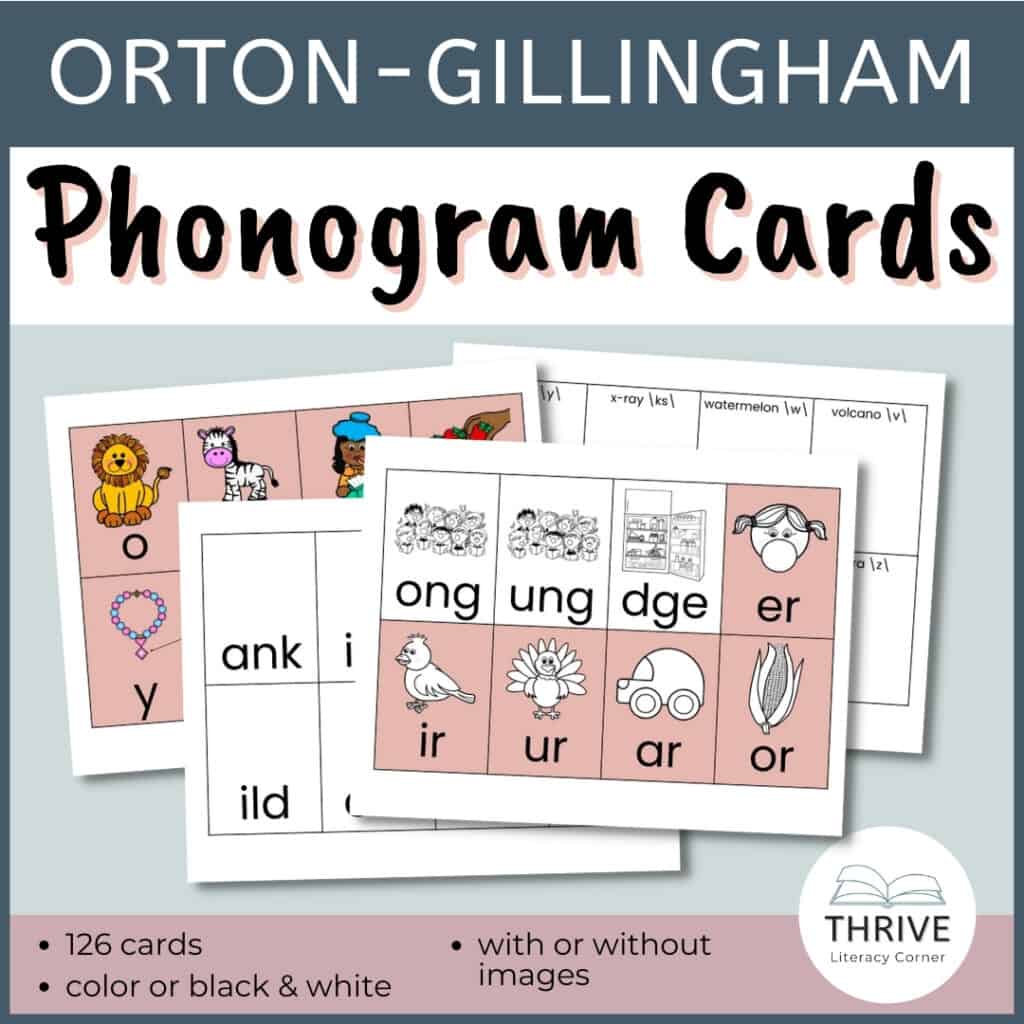
Blending Drills with Phonogram Cards
I’ve mentioned these a few times already, but phonogram cards are great to use when blending because they contain graphemes and not just individual letters. They help students see units of sounds and solidify their visual representation.
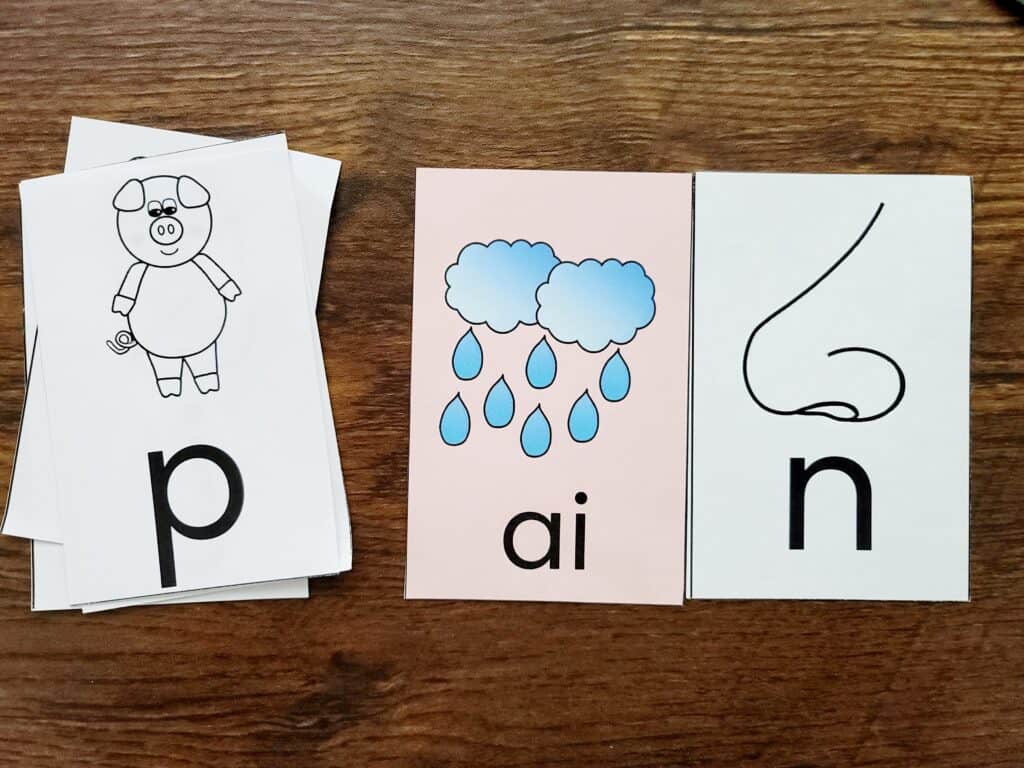
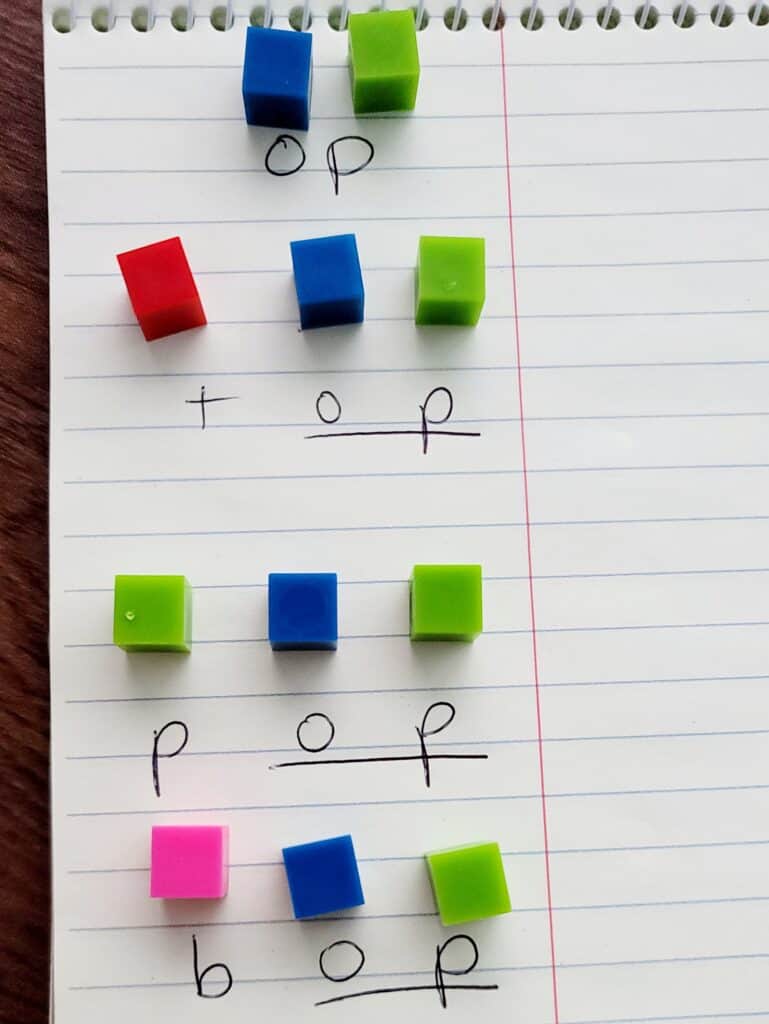
I typically use them in 2 or 3 piles of continuous sounds, vowels, and stop sounds (similar to above). For example, when working with CVC words, the first pile is continuous sounds, the middle pile is vowels, and the final pile is stop sounds. Then students flip cards from different piles to blend the sounds together.
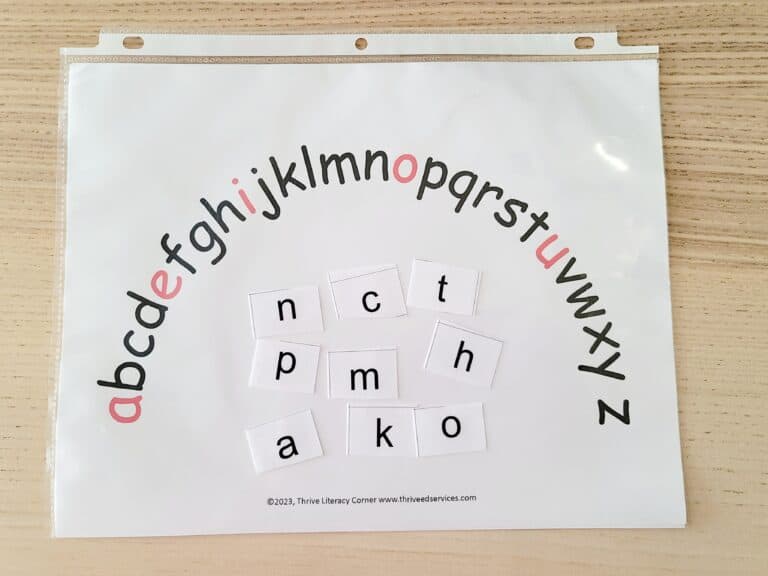
Letter tiles & magnets
Letter tiles and magnets are a fun visual way to practice blending. Again, try to use tiles that contain graphemes and not just letters. These are a great option.
Word Families & Sorts
Using word families and sorts helps students recognize patterns within words. After lots of practice, they should orthographically map the word family to make blending words faster.
Blending Games
Of course, we need to make it fun by playing games that practice blending skills. There are many free and paid printable games on TPT, or you can make your own.
Bottom Line
Blending words is an important skill that all students need to learn in order to be successful readers. By providing lots of practice and using fun activities, you can help your students become fluent at blending.
Want to remember this? Save Blending Words: How To Teach Blending Sounds to your favorite Pinterest board!


hi what is the blending words app called
Hi Arianna. I’m not sure what app you’re referring to.